Monday, January 21, 2013

"The Vegg" Vegan Egg Yolk Review


You've probably heard of the Vegg (pronounced like "egg" but with a 'V') even if you aren't a vegan blogger or egg-replacement aficionado. The purpose of the Vegg is to replace the actual egg yolk instead of the whole egg and not only imports the slightly eggy flavor into whatever you like - it also has a beautifully golden color like an egg yolk. The flavor is very slight, at least to my tastes when I used it in my vegan omellete but I could smell it a bit better in my yellow cake recipe.

I thoroughly enjoy the packaging and the way the whole thing sent to me was in a beautiful brown envelope, containing the big Vegg packet and information cards. The mascot on it is adorable and its very easy to tell what type of product this is!

The Positive: It only takes a very small amount of the Vegg to make the equivalent of two and a half egg yolks (about a teaspoon) and the package can make up to 40 average "yolks". All of the ingredients are common and pretty well known - two components are added for color, the nutritional yeast (which is also added for taste, I presume) and beta carotene for a more golden color.

Plus, every 2-3 yolks are only about 10 calories and the product is free of (high) allergens! Can't say that much.


The Negative: It can be a bit pricey, depending on the shipping cost and the location that you're buying it from. You also have to be sure to have a blender because it will not turn out right if you try to hand-mix it, as demonstrated on the package.

I've found that I've also need to add cornstarch to the water and Vegg so it can be a bit more silkier and stronger for all of my needs.


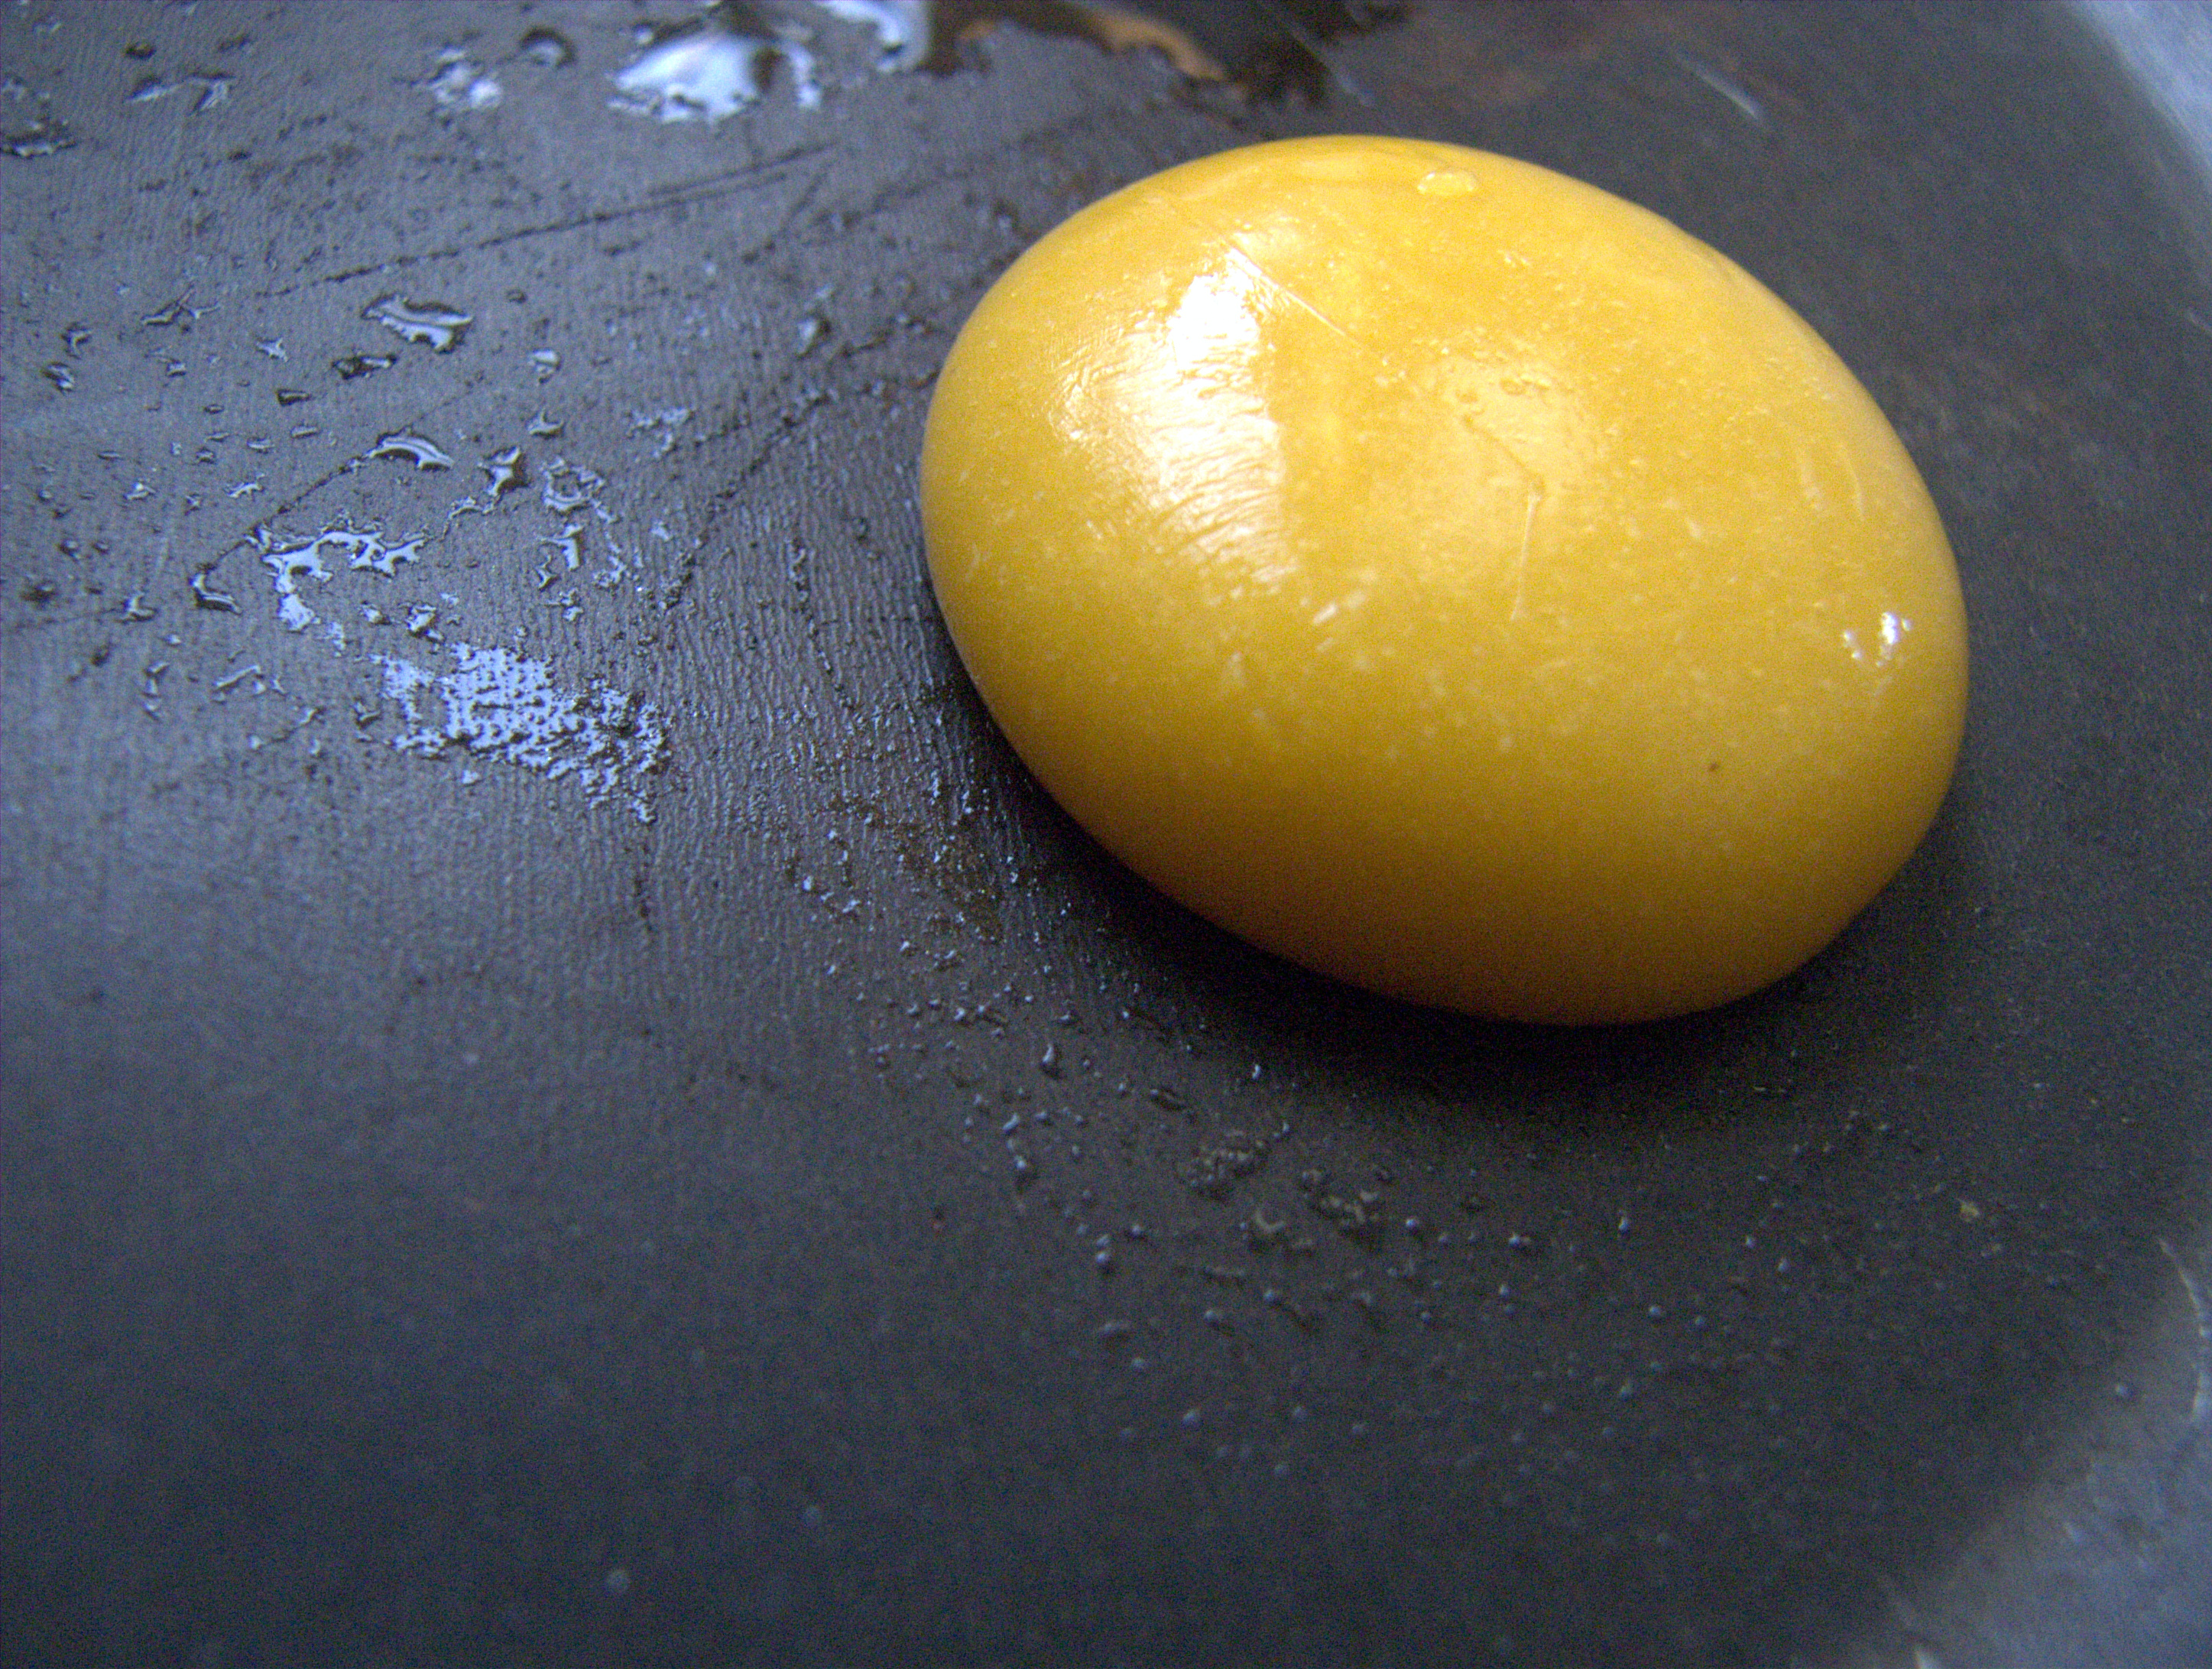
Image from "Meshell in the City" http://meshell.ca/
The Interesting: The Vegg contains "sodium alginate" and if you're familiar with molecular gastronomy or just enjoying seeing spherical shapes on your dinner plate at a fancy restaurant, you'll be happy to see that this very ingredient aids in gellifying your yolks and if you place it in a calcium lactate bath - you'll have a gelatinous, ooey gooey and good for the Earth egg yolk! Just pop into your favorite molds (maybe a Hello Kitty one?), freeze and make your calcium lactate bath, then you can dip bread into it or meld with some delicious tofu egg whites for an amazing fried egg.

For flavor and the signature egg taste (brought on by sulfuric compounds) - an Indian black salt is used. Isn't that neat?

Here above you can see a picture of a spherical Vegg yolk! Isn't that exciting?


Average Price: $7.00

Price I Paid: Free for a review.
Despite it not having the huge strengths in taste and smell you would expect from an egg yolk, its a huge step and I would most definitely buy this product again and suggest it to all of my friends. Plus, its especially helpful when making such moist yellow cake!

Here's a link to where you can buy "The Vegg" but there are plenty of retailers around!

http://shinsveganloving.blogspot.com/2013/01/vegan-yellow-cake-recipe-soy-free.html 
Link: http://www.amazon.com/gp/offer-listing/B0085V3YFO/ref=dp_olp_new?ie=UTF8&condition=new


Saturday, January 12, 2013

Vegan Yellow Cake Recipe (Soy-Free)

Have you ever heard of "The Vegg"? Its a product that I've been using for a while this month and that I really like. Its meant to replace the egg yolk in most recipes and while yellow cake varies in amounts - its generally pretty high. I've found that "The Vegg" works excellent in replacing the egg yolk and that I can easily strengthen it by combining it with cornstarch. This cake ended up being really moist and great despite my oven having to be at 400 degrees for about an hour to cook anything now.

(Vegan Yellow Cake Ingredients)
  • 1 C. of Coconut Oil
  • 2 C. of Raw Sugar
  • 2 tsp. Vanilla Extract
  • 2 TBL. Cornstarch
  • 1 tsp. of The Vegg
  • 1/4 C. of Cold Water
  • 2 tsp. Baking Powder
  • 1 C. Non-Dairy Milk + 1 TBL. Apple Cider Vinegar

(Directions)
  • Cream your coconut oil with the raw sugar then add in the baking powder and vanilla extract.
  • Blend your cornstarch, vegg and the water together in a blender, then cream it into your oil and sugar.
  • Alternate with your flour and milk and fold/stir them together
  • Preheat your oven to 350, spray and line your pan with parchment paper
  • Bake for about 30 minutes or until fully cooked, allow to rest and then frost with your favorite frosting recipe or use a chocolate fondant like I did!

Enjoy!

Tuesday, January 1, 2013

A Very Zombie Christmas

Hey all! I hope you've had many great holidays and a vacation! I'll miss being able to make so many yummy and fun treats at home but I can bring this to work with me and hopefully help sell a lot! While I do plan on making some stevia-cookies and showing off my stevia powdered sugar, I just wanted to do something a bit "rebellious". These cookies were excellent and the whole recipe makes about two dozen cookies so you can use anything you like. Also - a little tip, when someone suggests only a tiny amount of black food coloring gel...please believe them!

(Sugar Cookie Ingredients)

  • 1 & 1/2 C. Powdered Sugar
  • 3/4 C. of Coconut Oil
  • 1 tsp. of Vanilla Extract
  • 2 & 1/2 C. All-Purpose Flour or Whole Wheat Pastry Flour
  • 2 tsp. Baking Powder
  • A pinch of Salt
  • A few dribbles of Non-Dairy Milk (I used flax)

(Directions)
  • Cream your coconut oil with the powdered sugar then add in the baking powder and vanilla extract.
  • Fold in your flour and knead until it is like a store-bought cookie dough.
  • Refrigerate for about 10-15 minutes, cut in half then roll out your cookies.
  • Preheat your oven to 350, cut your cookies out onto some greased parchment paper and bake for about 10 minutes or until sturdy but not browned.
  • Allow to cool and then prep your vegan royal icing.


(Vegan Royal Icing Ingredients)

  • 1 TBL. Cornstarch or Tapioca Starch
  • 2 TBL. Non-dairy Milk
  • 1/2 tsp. Clear Vanilla Extract
  • 2 & 1/2 C. Powdered Sugar
  • Preferred Food Coloring.

(Directions)
  • My bowls were wet from washing each time I made the royal icing but just add in a few dribbles of milk to your cornstarch and mix. It should resist a bit.
  • Alternate your powdered sugar and milk until you get a thick consistency. Lift a spoonful up, then drip it out of the bowl. It should take 10+ seconds to complete for an outline.
  • Outline your cookies and let it take an hour or so to dry, then add more liquid to the icing to just barely thin it and then flood your cookie. Decorate with more outline/piping icing and allow to dry for 5+ more hours if you can wait.

Related Posts Plugin for WordPress, Blogger...